You love your grains, but even true love needs a break once in a while. Maybe its time for that vacation, or your fridge is slowly filling up with kefir jars or you just simply need a break from the process of kefiring. Taking a break from milk kefir grains is actually quite easy, but similar to any relationship, if its not done properly then that short sweet break could lead to long term relationship issues. You have 3 main options to store your grains when taking a break:
Fridge method: (storage for up to 1 month)
The fridge method is probably the easiest and most convenient. When done occasionally, it typically works great.
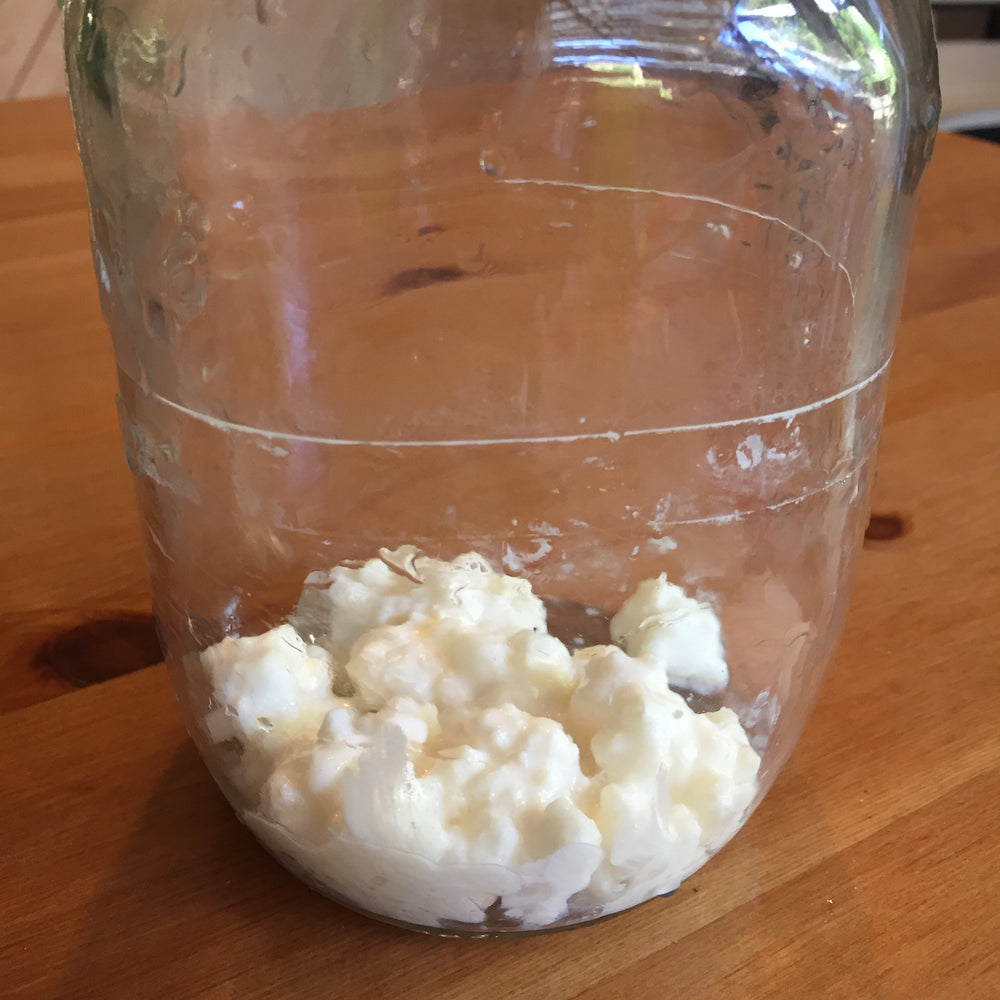
Step 1: Simply place your grains in a clean jar
Step 2: Pour fresh milk over the grains so they are fully submerged in milk. It does not matter how much milk you use just as long as they are submerged. If you plan to store longer than a week, then feel free to add more milk, but ultimately it doesn’t matter that much.
Step 3: Cover with lid and store in the fridge for up to 1 month. Make sure to avoid any cold spots that has the potential to freeze. It will survive several months, if not several years of storage; however, after about 1 month, the risk of damage (especially when it comes to new growth) increases.
To reactivate grains: Strain the grains from the milk. Then put the grains in a jar of fresh milk and ferment as usual. Keep in mind that they are slow coming out of the fridge, so use less milk for that first batch.
A BIG note of caution with storing grains in the fridge: If you consistently switch too often between room temperature ferments and the fridge, it can cause long term issues. After a week or so, it can get that distinct fridge smell and then it starts to get more imbalanced from there. Typically a couple batches will fix it, but we recommend doing this method no more than once a month. If you take a break once a month and do this method, its usually just fine, but if you are doing this method multiple times a month, then the ferment may mildly change in consistency or flavor. The greatest potential issue is that sometimes new growth stalls completely. Also, if you leave the grains for over a month in the fridge, they can run into issues as well. Storing water kefir grains and ginger beer plant in the fridge does not cause these issues.
If you enjoy taking breaks more than once a month, try using the freezing method or a combination of the fridge and freezer method.
Freezing Method: (storage for up to 1 year)
When done right, this can be the preferred method over the fridge method, even for short-term storage. As long as the grains don't oscillate between thawing and freezing within the freezer, the grains usually recover really fast and really fast.
Optimal method for freezing:
Step 1: Rinse grains with unchlorinated water
Step 2: Pat the grains dry with a paper towel
Step 3: Coat grains in dried milk powder in a jar or food grade plastic bag
Step 4: Place jar or bag of grains in freezer for up to about 9 months to 1 year safely. It will easily survive longer than a year, but it may not grow after that or it may change the consistency or flavor.
To reactivate grains: Put bag or jar of grains in fridge for around 1 day to thaw and then use as usual.
Easier method for freezing:
You can do the same thing except just skip the rinsing and drying and simply strain the gains, coat in dried milk powder and store in the freezer. We’ve tested this and its not that much different than rinsing and drying, especially if its going to be a short-term storage. For long term storage, we do recommend rinsing and drying.
Drying Method: (Storage for to 1 year when combined with freezing)
Drying is the least desired method of the 3 in our opinion. It can adversely affect the grains, especially its growth rate. There are companies like cultures for health that recommend drying when taking a break, but that’s because they only offer dried cultures. Ideally, keeping the grains in a live state is optimal. Dried grains are a good option for keeping the grains stable on very long transits.
Optimal method for drying:
Step 1: Rinse grains with unchlorinated water
Step 2: Pat the grains dry with a paper towel
Step 3: Lay grains flat on a non-stick surface such as baking paper.
Step 4: Use a fan to run air over the grains. They should dry in about 1 day. You can use a dehydrator, but make sure it does not use any heat as that can damage the grains.
Step 5: Lightly coat the outer layer of the grains with some dried milk powder.
To reactivate grains: Re-hydrate the grains in a jar of milk in the fridge for at least 6 hours. Take the jar out and ferment at room temperature as usual.
Easier method for drying:
Skip the rinsing and drying and simple strain your grains and place on a non-stick surface and run a fan over them. If you don’t rinse and dry, it won’t impact the shelf life that much. Also you can skip the dried milk powder coating at the end, especially if storage time in short.
After the grains are dried you have 3 options:
1. Store the dried grains at room temperature for about 1 month safely
2. Store in the dried grains in the fridge for about 3-6 months
3. Store the dried grains in the freezer for about 1 year safely.
Comments
Katy
I have experimented with goats milk, cow’s milk, raw, pasturised and uht; it makes no difference, it always woks and the grains multiply like mad. I will try freezing some and give some away.
May 14, 2023
Yemoos Nourishing Cultures
Charlotte – Yes, you can transition the grains from raw goats milk to raw cows milk fairly easy. I have found that the transition between raw milks of different mammals to be quite easy and accepting. You can transition them slowly by using less of one milk and more of the other. However, a quick transition is usually fine where you simply put them in the new milk and they will naturally adapt in a fairly short amount of time.
July 12, 2021
Charlotte
I no longer have access to raw goat’s milk to make my kefir. Is it possible to use my grains with raw cow’s milk successfully?
July 12, 2021
sherri gibson
I just pulled my Kefir grains out from the cupboard after close to 3 years. I was worried about them not rehydrating, but OMG they picked up like they had never been dry. The kefir is amazing, I used the whey from my second batch to begin a sourdough starter and it was full of bubbles the next morning with a beautiful tangy scent. With my 3rd batch today I am going to use to make soft cheese with, the flavour seems to have improved from before I dried them. I chalk that up to my Dr. Masaru approach to making my kefir.
November 02, 2019
BeverlyAnn Chyatte
Thank you for this article. I just wanted to post that I had forgotten about my raw milk kefir grains, in raw milk, in the back of the fridge. We had to have a repair done to our fridge and everything had to come out. I’m not sure how long those grains have been in my refrigerator but I havent done kefir in at least 2 years if not longer. I pulled them out (they were not labeled) and gave them a sniff and they smelled perfectly fine. I also strained them and cleaned them in distilled water and they even looked pretty good. Anyway, I thought I’d see if I could still make raw milk kefir with them. Sure enough, they made kefir the first day. I trashed that kefir (although nothing appeared nor smelled wrong with it) and made new kefir 2 days later. I feel safe drinking the kefir after only a couple of ferments. I’d say if you have some kefir grains in the back of your refrigerator (and its been a couple of years since you placed them there) and they are in RAW A2 milk they may be able to be brought back in just a couple of ferments.
August 14, 2019
Leave a comment